

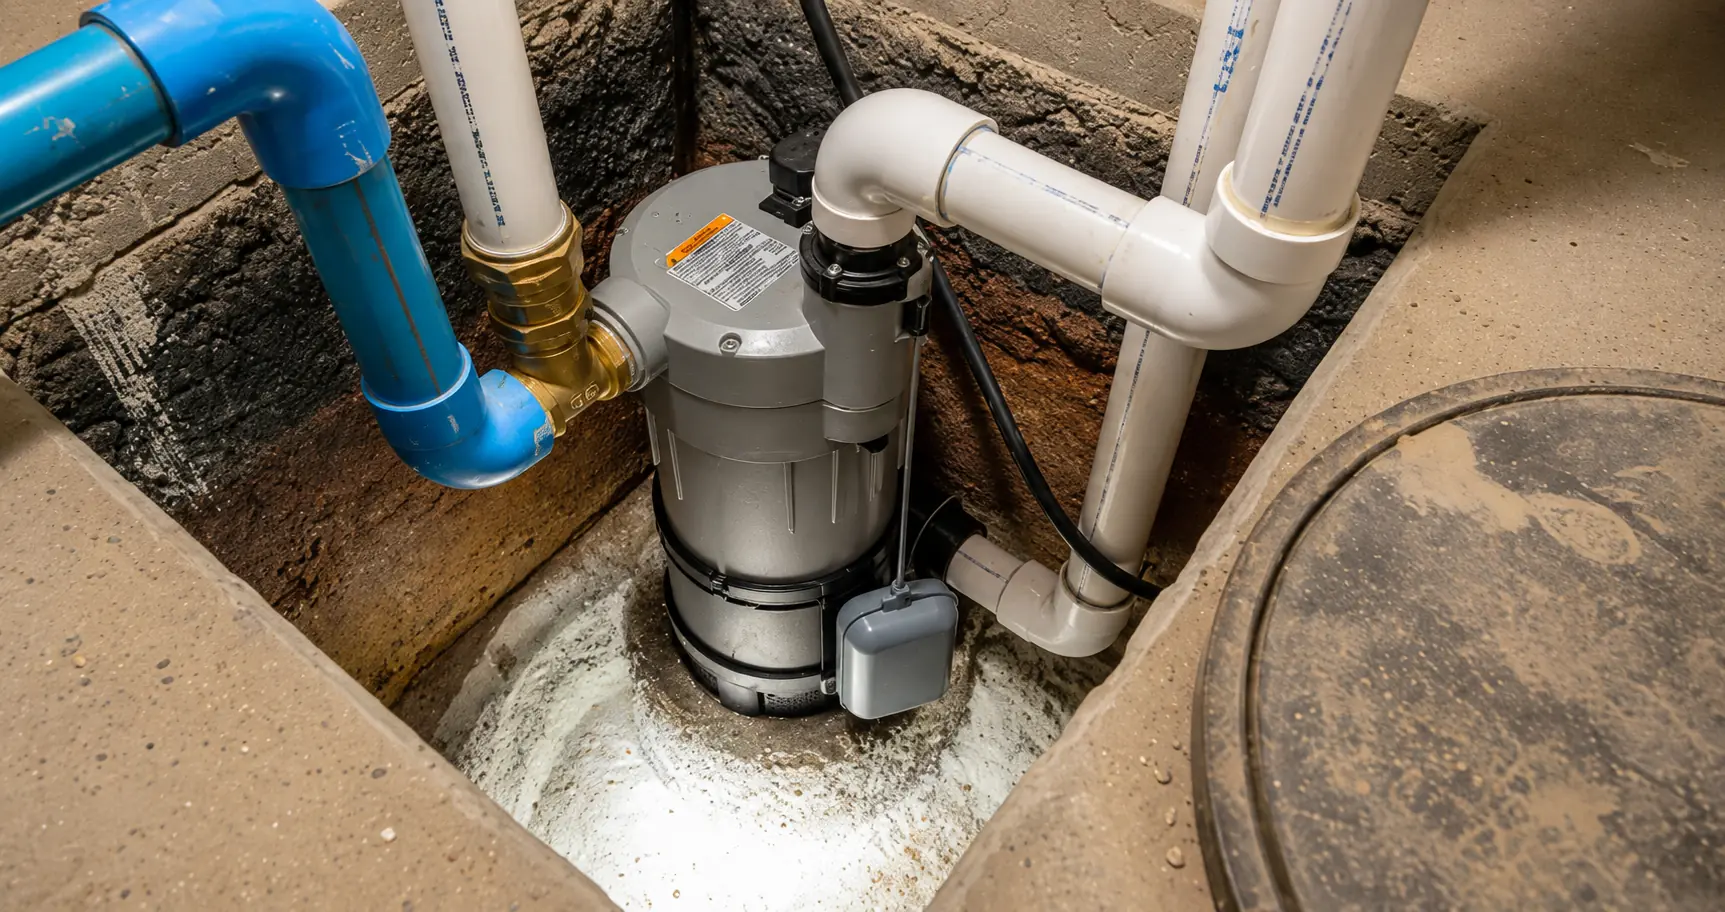


Seattle gets close to 39 inches of rain a year, and the bulk of it falls between October and April. That means many sump pumps run less often during the dry months and face much heavier demand once the wetter season begins. Problems can go unnoticed during periods of light use. Debris may interfere with the float or intake, electrical connections can deteriorate, and moving parts can begin to stick without showing an obvious symptom until the pump is needed again.
Learning how to test a sump pump takes ten minutes, a bucket, and a flashlight. Compared with the cost of drying out a finished basement, replacing flooring, and dealing with water-damaged belongings, a simple sump pump test is one of the easiest low-cost steps a homeowner can take to reduce flood risk. Do it in September, not in the middle of the first real storm.
How to Test a Sump Pump With Water
The most complete homeowner test is a live water test, because it checks whether the pump starts automatically and actually moves water out of the pit. Checking the outlet, GFCI, or a power indicator on the pump can confirm that power is available, but it does not show whether the pump can actually move water. Lifting the float by hand confirms the switch works but skips the discharge line, the check valve, and the impeller, where a large share of real failures occur. To pour water into the sump pit and test the pump properly, you need a bucket or two and a few uninterrupted minutes.
One safety note before you start. The sump pit may already contain some water, which is normal, but keep your hands away from the pump, cord, and electrical connections while the unit is powered. If there is standing water on the basement floor or any electrical equipment has been exposed to water, do not handle the pump or cord. Turn off power only if the breaker can be reached safely from a dry location.

Step-by-Step Sump Pump Test
Begin with the setup. Confirm the pump is plugged directly into a GFCI outlet rather than sharing an extension cord with something else, and that the cord runs clear of the discharge pipe. Then look into the pit with a flashlight. Gravel, silt, wrappers, or pieces of insulation should be removed before testing because debris can obstruct the intake or impeller and interfere with the float switch.
Now pour the water in slowly, watching the float rise as the level comes up. Keep going until the switch engages: five gallons is often enough, but a pit that starts dry needs more, since five gallons raises the level in a standard basin by only four or five inches. A correctly adjusted pump switches on well before the water reaches the top of the pit, runs steadily, and shuts itself off once the level drops to the cut-out point. Listen while it runs: a healthy motor produces a consistent hum. Grinding, rattling, or an unusual change in pitch can point to debris, vibration, an impeller problem, or mechanical wear and should be investigated with a professional sump pump inspection.
Finish outside. Walk to the discharge point and confirm water is actually coming out, at a reasonable volume, and draining away from the house rather than pooling against it. This step is constantly skipped, and it’s the one that catches a crushed or blocked line. If you need to confirm where a buried discharge line empties, a sump pump dye test can help trace the flow and identify the outlet where the pumped water reappears.
How to Check the Float Switch
The float switch is a common source of sump pump problems. If it is stuck down, the pump may not start as the water rises; if it is stuck in the on position, the pump may run continuously and risk overheating or premature damage.
Switch type affects what to look for. Tethered floats swing on a cord and need enough clearance to avoid catching on the pit wall or piping. Vertical floats slide on a rod and can bind if debris or silt interferes with their movement. Electronic and diaphragm switches have no moving arm but can fail electrically with no visible symptom.
For tethered and vertical float switches, move the float through its full range by hand and make sure it moves freely without catching on the pit wall, discharge pipe, or power cord. Electronic and diaphragm switches do not have the same moving float, so their operation is better confirmed during the water test or according to the manufacturer’s instructions. In many cases, a switch that tests perfectly on the bench fails in service simply because it’s pinned against a pipe two inches away.

How Long Should It Take to Drain the Pit?
A 1/3-horsepower sump pump may move roughly 30 to 50 gallons per minute at a 10-foot lift, depending on the model. A standard 18-inch basin holds a little over 13 gallons for every foot of depth, so a five-gallon test should usually take well under a minute when the pump and discharge line are working properly. Actual drain time varies with pump capacity, lift, piping, and the difference between the switch-on and switch-off levels. For example, a pump rated around 34 GPM at a 10-foot lift could theoretically move five gallons in about nine seconds, but a real installation will usually take longer because of piping losses. Time it anyway – having a baseline number from a healthy system is what lets you notice degradation a year later.
If the pit drains noticeably slower than your own baseline, check for a clogged intake or impeller, a check-valve problem, or a restriction in the discharge line. Low voltage, excessive lift, or a worn pump can also reduce flow. To understand how to check the water level in a sump pump pit, note where the water sits when the pump is idle and where it reaches when the pump turns on during your test. Use those levels as reference points during future checks. If the water level stays unusually high or the pump starts cycling much more often than usual, something may need attention even if there has been little recent rain.
What to Check If Your Sump Pump Fails the Test
Failures sort into a small number of categories, each with a distinct symptom. Knowing how to check a sump pump for failure is mostly a matter of matching what you observed to the list below, then deciding whether it’s a five-minute fix or a call.
It Does Not Turn On
Work through the simple causes first, in order: the outlet, the GFCI reset button, the breaker, and the float. It’s worth plugging a lamp into the same outlet to confirm the receptacle is live – we’ve been called out to pumps that turned out to be downstream of a tripped GFCI in a completely different room.
If power is confirmed and the float switch is working, the problem may be in the motor, wiring, or another internal component. Before deciding that the pump needs replacement, it helps to understand how to test a sump pump motor: the motor circuit can be checked with a multimeter for an open reading or other signs of an electrical fault. The wiring should be checked as well, since a problem there can produce similar symptoms.

It Hums but Does Not Pump Water
A pump that hums but does not move water may have a jammed impeller, an air lock, or another mechanical or electrical problem. The usual culprit is sump pump impeller debris – gravel, sediment, or a fragment of plastic wedged in the housing. Unplug the unit, lift it out, and inspect the intake.
The second possibility is an air lock: trapped air can prevent the pump from moving water even though the motor is running. Some installations use a small vent or weep hole in the discharge pipe below the check valve to release that air. If your pump is designed this way, check that the hole is clear of sediment; other models use a different anti-air-lock design, so follow the manufacturer’s instructions.
It Runs but Does Not Stop
Continuous running can result from a sump pump float switch stuck on debris, a problem with the control system, excessive inflow, or a pump that cannot keep up with the amount of water entering the pit.
Watch what happens to the water level while the pump runs. If the level drops normally but the pump keeps running, the float or control system is the likely place to look. If the level stays high or continues rising, the pump may simply be unable to keep up with the incoming water. A pump that continues running after the level has dropped should be shut off promptly, since operating with little or no water can cause overheating and damage.

Water Isn’t Leaving the Pit
If the pump is running but the water level barely drops, start with the discharge line. Check the outlet for leaves, ice, or other obstructions, and look for any visible damage or crushed sections of pipe. A blocked discharge line can prevent the pump from moving water out of the pit even when the motor is working normally.
The check valve can cause a different problem. How do you test the sump pump check valve? Watch what happens after the pump shuts off. If the water level in the pit begins rising again almost immediately, some of the discharged water may be flowing back through the pipe. That usually means the check valve is stuck open, damaged, or no longer sealing properly.
The Breaker or GFCI Keeps Tripping
A sump pump tripping the GFCI outlet or the breaker is a warning signal, not an inconvenience to be worked around. A GFCI may trip because moisture or damaged insulation is allowing current to leak where it should not. If the breaker trips instead, the pump may be drawing too much current because of a jammed, shorted, or failing motor. A faulty GFCI or damaged power cord can also cause repeated trips.
Never bypass the GFCI to keep the pump running through a storm. In a damp basement with a submerged electrical appliance, that protection exists for exactly the scenario you’d be creating. If the trip repeats, the system needs diagnosis before the next rainfall, not after.
| What You Notice | Possible Causes | What to Check First |
| Pump does not turn on | No power, tripped GFCI or breaker, stuck float, switch or motor problem | Confirm power at the outlet, reset the GFCI if appropriate, and make sure the float moves freely |
| Pump hums but does not move water | Jammed impeller, debris in the intake, air lock | Unplug the pump and inspect the intake and impeller; check the anti-air-lock feature if the model has one |
| Pump runs continuously and the water level stays high | Excessive inflow, undersized pump, restricted discharge line | Check whether water is leaving through the discharge line and whether inflow exceeds pump capacity |
| Pump runs after the water level has dropped | Stuck float or control problem | Check whether the float returns freely to the off position and shut the pump off if it continues running |
| Water flows back into the pit after shutdown | Check valve not holding | Listen for returning water and inspect the check valve |
| Pit drains more slowly than usual | Clogged intake or impeller, discharge restriction, worn pump, excessive lift | Compare drain time with your normal baseline and inspect the intake and discharge path |
| GFCI or breaker repeatedly trips | Ground fault, damaged cord, motor fault, excessive current draw | Stop using the pump and have the electrical problem diagnosed rather than repeatedly resetting the protection |
How Long Does a Sump Pump Last?
The honest answer is 7 to 10 years for a primary unit under normal use. Where a given pump lands in that range comes down largely to duty cycle. In a home with a high water table, constant cycling through the winter wears out the mechanical parts faster and shortens its life. A pump in a drier basement that only runs now and then may go longer — though seals and capacitors still age even when the motor rarely runs.
Sump pump lifespan is also affected by what’s in the water. Fine silt is abrasive and shortens impeller life, which is one more argument for cleaning out the pit annually rather than letting sediment accumulate around the intake.
Signs Your Sump Pump Needs Replacement
Watch for four things: visible rust on the housing, excessive vibration during operation, short-cycling where the pump starts and stops repeatedly within a minute, and a measurable drop in how fast the pit clears compared with your baseline.
A unit approaching the typical 7-to-10-year service-life range and showing these symptoms should be inspected before the wet season; replacement may be appropriate if the problem reflects significant mechanical wear or declining performance. Regular sump pump maintenance and repair genuinely extends service life – clearing debris, replacing a worn check valve, adjusting a float – but it doesn’t reverse mechanical wear on a motor that has already run for a decade.
Why Test Your Sump Pump Before the Rainy Season?
Idle equipment gives no notice that it has stopped working, and the first demand of the season is a poor moment to find out. A backup battery can lose capacity gradually with age, even when it remains connected to its charger, so regular testing is important before the wet season and before an outage puts it under real load.
There’s a practical scheduling argument too. Test in September and you have time to order a part, compare replacement options, and book work at a normal appointment. Test in November, after the first sustained storm, and you’re competing with everyone else who waited. That’s the entire case for testing a sump pump before the spring rains as well as the autumn ones – in this climate the wet season covers both ends.

How Often Should It Be Tested?
The practical answer to how often to test a sump pump is quarterly, plus one dedicated test immediately before the rainy season begins. Homes with a high water table, a history of basement flooding, or a finished lower level should test monthly through the wet months.
Fold the rest into a yearly routine. A good maintenance checklist covers cleaning silt from the pit, inspecting the discharge line end to end, confirming the pit cover is secure, checking that the check valve holds, and testing the backup. If your unit has a debris screen, add it to the list and keep it clear – buildup restricts water reaching the pump and drags down performance. None of it takes long, and it’s the difference between spotting a problem in daylight and finding it at 2 a.m.

Test the Backup Power Too
Storms can cause power outages, which is exactly when a battery backup may be needed to keep the sump pump operating. A primary pump without electricity is just a heavy object sitting in a hole. Knowing how to test a battery backup sump pump is therefore essential: unplug the primary unit, pour water into the pit, and confirm the backup activates and clears the pit on battery alone. Then check how long it takes to recharge afterward.
Check the battery itself as well. Testing a sump pump battery with a multimeter can reveal whether its resting voltage is unusually low, but voltage alone cannot show how well the battery will perform under load. Compare the reading with the battery manufacturer’s specifications, and confirm its condition by running the backup pump on battery power or using the system’s built-in battery test. Backup batteries typically last 3 to 5 years, considerably less time than the pumps they protect, and replacing one on schedule is far cheaper than discovering its condition during an outage. Water-powered backups are an alternative in homes on municipal supply, since they need no electricity at all.
When to Call a Professional for Sump Pump Testing
Call if the pump fails any stage of the test, if the breaker or GFCI trips, if you hear grinding or knocking, or if the unit is more than eight years old and you’d rather know its condition than assume it. Also call if the pit fills faster than the pump empties during ordinary rain. First, rule out a clogged intake, discharge restriction, check-valve problem, or declining pump performance; if the system is working properly and still cannot keep up with inflow, the pump may be undersized.
Professional sump pump testing services cover what a homeowner can’t easily assess: amperage draw under load compared with the nameplate rating, discharge line integrity below grade, whether the pit is correctly sized for the inflow around your foundation, and whether the check valve is positioned properly on the vertical run. Some of those checks require specialized tools. A buried discharge line may be evaluated with a camera, tracing dye, flow testing, or other locating methods depending on the problem and available access. A full sump pump inspection goes wider still – grading, downspouts, and any waterproofing issues feeding water toward the pit in the first place. Fixing the source often matters more than upgrading the pump.